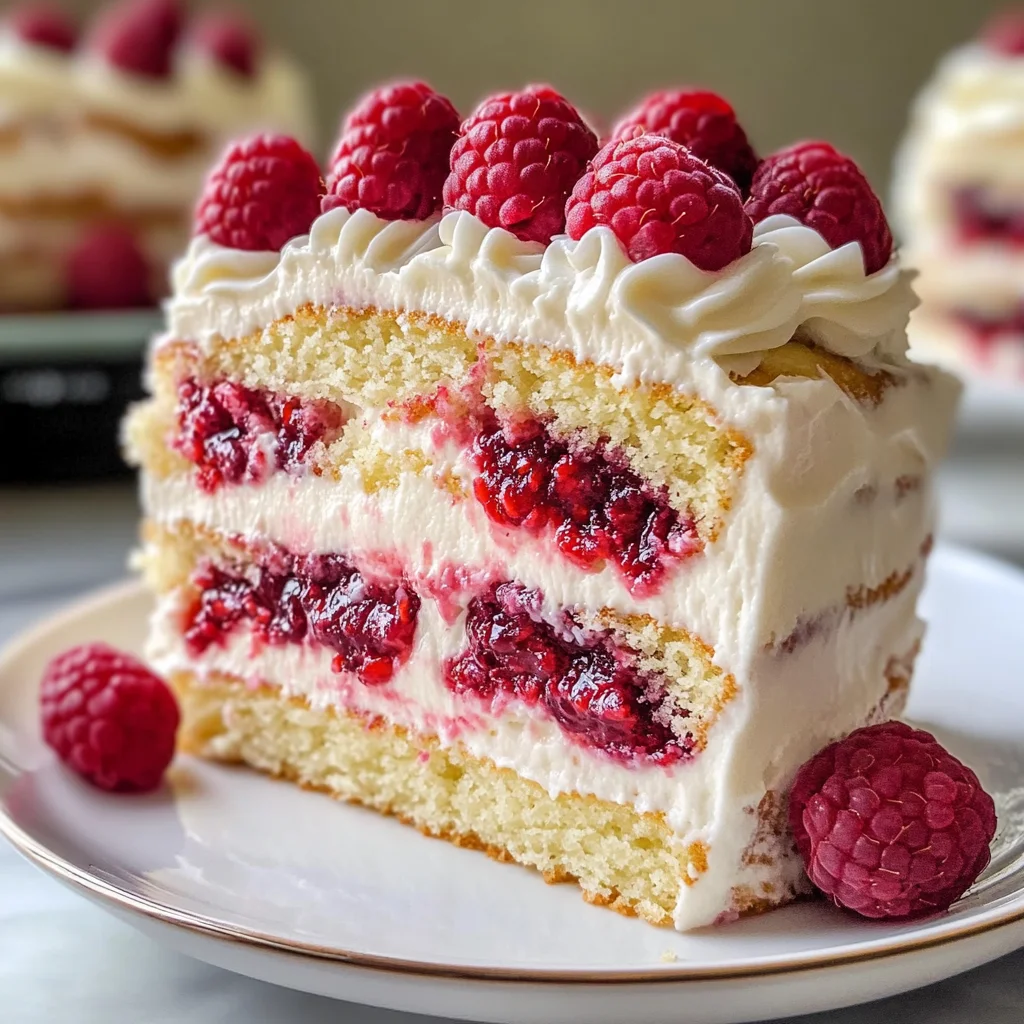
White Chocolate Raspberry Dream Cake
If you’re looking for a dessert that feels like a warm hug, then the White Chocolate Raspberry Dream Cake is just what you need. This cake takes the classic pairing of white chocolate and raspberries to new heights. It’s moist, creamy, and has just the right amount of tang from those luscious berries. Whether you’re celebrating a family gathering or just want to treat yourself on a busy weeknight, this cake is sure to impress.
What makes this recipe even more special is how easy it is to make! You can whip up this dreamy delight with simple ingredients that you probably already have at home. So, grab your mixing bowls and let’s get baking!
Why You’ll Love This Recipe
- Deliciously Balanced Flavor: The sweetness of white chocolate perfectly complements the tartness of fresh raspberries.
- Family-Friendly Treat: Everyone will love this cake—from kids to adults! It’s perfect for any occasion.
- Easy to Prepare: With straightforward steps, this recipe is approachable for bakers of all skill levels.
- Make-Ahead Delight: Chill it in advance and serve it later—perfect for parties or potlucks!
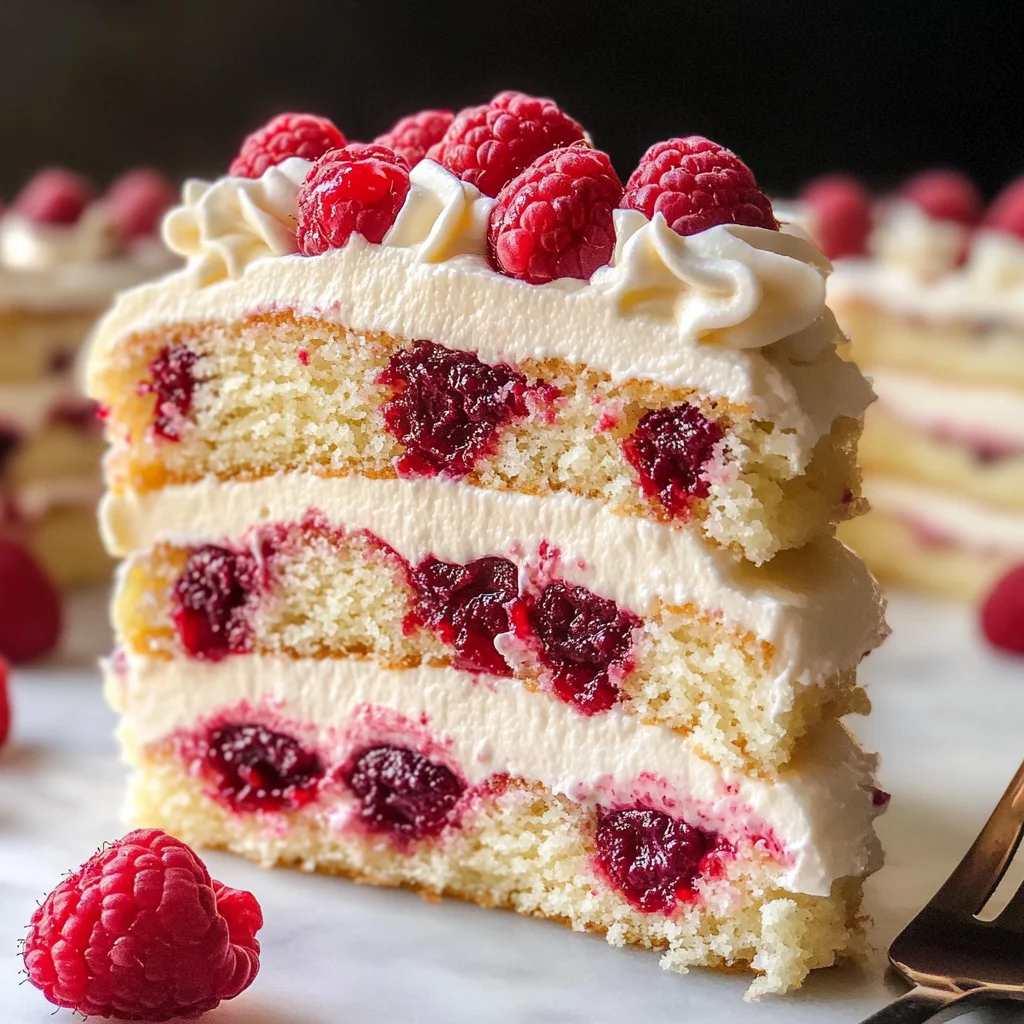
- Stunning Presentation: The beautiful layers and fresh raspberries make it an eye-catching centerpiece.
Ingredients You’ll Need
You won’t believe how simple and wholesome these ingredients are! Many are kitchen staples, making it easy for you to gather everything needed for your White Chocolate Raspberry Dream Cake.
For the Cake
- 2 1/2 cups all-purpose flour
- 2 teaspoons baking powder
- 1/2 teaspoon baking soda
- 1/2 teaspoon salt
- 1 cup unsalted butter
- 1 1/2 cups granulated sugar
- 4 large eggs
- 1 teaspoon vanilla extract
- 1 cup whole milk
- 1/2 cup sour cream
- 6 ounces white chocolate, melted
For the Raspberry Filling
- 1 1/2 cups fresh raspberries
- 1/2 cup raspberry jam
For the Whipped Cream Topping
- 2 cups heavy whipping cream
- 2 tablespoons powdered sugar
- 1 teaspoon vanilla extract
Variations
This recipe offers plenty of flexibility! Here are some delightful variations to consider:
- Add Another Fruit: Mix in some sliced strawberries or blueberries for an extra fruity twist.
- Swap the Chocolate: If you’re a fan of dark chocolate, try using melted dark chocolate instead of white chocolate for a richer flavor.
- Make It Gluten-Free: Substitute all-purpose flour with your favorite gluten-free blend to accommodate dietary needs.
- Create Mini Cakes: Bake in smaller round pans to create individual-sized cakes that are perfect for sharing!
How to Make White Chocolate Raspberry Dream Cake
Step 1: Preheat Your Oven and Prepare Pans
Start by preheating your oven to 350°F (175°C). Greasing and flouring two 9-inch round cake pans is essential; this ensures your cakes will come out easily without sticking!
Step 2: Combine Dry Ingredients
In a medium bowl, whisk together all-purpose flour, baking powder, baking soda, and salt until well combined. This step helps evenly distribute the leavening agents throughout the flour.
Step 3: Cream Butter and Sugar
In a large mixing bowl, cream together unsalted butter and granulated sugar with an electric mixer on medium speed until light and fluffy—about 3-4 minutes. This process incorporates air into the mixture, giving your cake its lovely texture.
Step 4: Add Eggs and Vanilla
Add the eggs one at a time to the butter mixture, beating well after each addition. Mixing in vanilla extract at this stage infuses the batter with delightful flavor.
Step 5: Mix Wet Ingredients
In another bowl, combine whole milk and sour cream until smooth. This mixture adds moisture and richness to your cake!
Step 6: Combine Wet and Dry Ingredients
Gradually incorporate your dry ingredients into the butter mixture while alternating with the milk-sour cream blend. Begin and end with dry ingredients—it’s important not to overmix here; just combine until smooth.
Step 7: Fold in White Chocolate
Gently fold in melted white chocolate using a spatula. This will give your cake that luxurious flavor we all crave!
Step 8: Bake Your Cakes
Evenly divide the batter between prepared pans. Smooth the tops before placing them in the oven. Bake for about 25-30 minutes or until a toothpick comes out clean.
Step 9: Cool Cakes Properly
Once baked, allow your cakes to cool in their pans for about 10 minutes before turning them out onto wire racks. Cooling completely prevents sogginess when adding layers!
Step 10: Prepare Raspberry Filling
While cakes cool, mash fresh raspberries in a bowl until broken down into small pieces. Mixing these with raspberry jam creates a delicious filling that brings tartness to balance out sweetness.
Step 11: Make Whipped Cream Topping
In another bowl, beat heavy whipping cream with powdered sugar and vanilla extract until stiff peaks form. This fluffy topping will add amazing texture!
Step 12: Assemble Your Cake
Place one layer on your serving platter. Spread raspberry filling over it generously before adding whipped cream on top. Gently place the second layer on top and cover with remaining whipped cream.
Step 13: Garnish
For a beautiful finish, garnish with fresh raspberries arranged decoratively on top of your cake.
Step 14: Chill Before Serving
Chill in the fridge for at least an hour before serving—this allows all those dreamy layers to set beautifully together.
Now you’re ready to slice into your delicious White Chocolate Raspberry Dream Cake! Enjoy each bite filled with sweetness and tang; it’s truly something special!
Pro Tips for Making White Chocolate Raspberry Dream Cake
Creating the perfect White Chocolate Raspberry Dream Cake is all about attention to detail and a little love in the kitchen! Here are some tips to ensure your cake turns out as dreamy as you envision.
-
Use room temperature ingredients: Bringing your eggs, butter, and milk to room temperature helps create a smoother batter and promotes even baking. This ensures that your cake layers rise beautifully and have a soft texture.
-
Don’t overmix the batter: Overmixing can lead to dense cakes. Once you combine the wet and dry ingredients, mix just until everything is incorporated. A few lumps are perfectly fine!
-
Cool the cakes completely: Allowing the cakes to cool completely before frosting is essential. If they’re warm, the whipped cream will melt, making it challenging to achieve that fluffy, beautiful layer we all crave.
-
Chill your mixing bowl for whipped cream: For extra light and fluffy whipped cream, chill your mixing bowl and beaters in the freezer for about 10 minutes before whipping. This helps stabilize the cream and gives you those perfect peaks.
-
Experiment with flavors: While this cake is delicious as-is, feel free to add a touch of almond extract or lemon zest for an extra flavor twist! These additions can enhance the overall taste profile of your dessert.
How to Serve White Chocolate Raspberry Dream Cake
Presentation plays a crucial role in making your White Chocolate Raspberry Dream Cake just as delightful to the eyes as it is to the palate! Here are some ideas on how to serve this stunning dessert.
Garnishes
- Fresh mint leaves: A few sprigs of fresh mint not only add a pop of color but also bring a refreshing contrast to the sweet layers of cake.
- Chocolate shavings: Sprinkle some white chocolate or dark chocolate shavings on top for an elegant touch that complements both the flavor and aesthetics of your cake.
- Powdered sugar dusting: A light dusting of powdered sugar over the top can create a beautiful snowy effect that enhances its dreamy allure.
Side Dishes
- Berry Compote: A warm or chilled berry compote made from mixed berries can be drizzled around the plate, adding an extra layer of flavor and color.
- Vanilla Ice Cream: A scoop of vanilla ice cream alongside each slice provides a creamy counterpoint that pairs wonderfully with the raspberry tang.
- Lemon Sorbet: The bright citrus notes of lemon sorbet will cut through the sweetness of the cake, offering a refreshing balance that guests will love.
- Coffee or Tea: Serving slices with a cup of freshly brewed coffee or tea not only complements the flavors but also makes for a delightful afternoon treat.
With these serving ideas and tips in hand, you’re ready to impress friends and family with your delectable White Chocolate Raspberry Dream Cake! Enjoy every bite and moment shared around this delightful creation.
Make Ahead and Storage
This White Chocolate Raspberry Dream Cake is an excellent choice for meal prep, as it can be made ahead of time and stored properly to maintain its deliciousness.
Storing Leftovers
- Store any leftover cake in an airtight container at room temperature for up to 2 days.
- For longer storage, refrigerate the cake in a sealed container for up to 5 days.
- If you notice any condensation forming, place a paper towel inside the container to absorb moisture.
Freezing
- To freeze the cake, wrap each layer tightly in plastic wrap before placing it in a freezer-safe container or bag.
- The cake can be frozen for up to 3 months without losing its flavor or texture.
- Thaw the cake layers in the refrigerator overnight before serving.
Reheating
- If you prefer your cake slightly warm, you can reheat individual slices in the microwave for about 10-15 seconds on low power.
- Alternatively, place a slice on a baking sheet and warm it in a preheated oven at 350°F (175°C) for about 5-7 minutes.
FAQs
Here are some common questions about this delightful dessert:
Can I make a gluten-free version of the White Chocolate Raspberry Dream Cake?
Yes! You can substitute all-purpose flour with a gluten-free flour blend that works well for baking. Just ensure it’s one that measures cup-for-cup like regular flour.
How do I achieve the best results with my White Chocolate Raspberry Dream Cake?
To get the best results, make sure your ingredients are at room temperature before mixing. This helps create a smooth batter and ensures even baking.
Can I use frozen raspberries instead of fresh ones for my White Chocolate Raspberry Dream Cake?
While fresh raspberries provide the best flavor and texture, you can use frozen raspberries in a pinch. Just thaw them beforehand and gently pat dry to remove excess moisture.
How should I store my White Chocolate Raspberry Dream Cake?
Store any leftovers in an airtight container at room temperature for up to 2 days or refrigerate them for up to 5 days. For long-term storage, freeze individual layers wrapped tightly.
Final Thoughts
I truly hope you enjoy making this White Chocolate Raspberry Dream Cake as much as I do! It’s more than just a dessert; it’s an experience that brings together sweet and tangy flavors in every bite. Whether you’re celebrating a special occasion or just treating yourself, this cake will surely impress. Happy baking!
White Chocolate Raspberry Dream Cake

Indulge in the delightful flavors of White Chocolate Raspberry Dream Cake, a luscious dessert that perfectly balances the sweet creaminess of white chocolate with the tart freshness of raspberries. This cake is not only a feast for the eyes with its beautiful layers but also an unforgettable treat that will impress your family and friends at any gathering. With simple ingredients and easy-to-follow steps, you can easily create this show-stopping dessert to celebrate special occasions or simply to satisfy your sweet cravings. Let’s get baking!
- Prep Time: 20 minutes
- Cook Time: 30 minutes
- Total Time: 50 minutes
- Yield: Approximately 12 servings 1x
- Category: Dessert
- Method: Baking
- Cuisine: American
Ingredients
- 2 1/2 cups all-purpose flour
- 2 teaspoons baking powder
- 1/2 teaspoon baking soda
- 1/2 teaspoon salt
- 1 cup unsalted butter
- 1 1/2 cups granulated sugar
- 4 large eggs
- 1 teaspoon vanilla extract
- 1 cup whole milk
- 1/2 cup sour cream
- 6 ounces melted white chocolate
- 1 1/2 cups fresh raspberries
- 1/2 cup raspberry jam
- 2 cups heavy whipping cream
- 2 tablespoons powdered sugar
Instructions
- Preheat your oven to 350°F (175°C) and prepare two 9-inch round cake pans by greasing and flouring them.
- In a bowl, whisk together flour, baking powder, baking soda, and salt.
- In a separate mixing bowl, cream together butter and sugar until light and fluffy.
- Add eggs one at a time, mixing well after each addition. Stir in vanilla extract.
- In another bowl, mix whole milk and sour cream until smooth. Gradually combine with the creamed mixture along with the dry ingredients until just blended.
- Fold in the melted white chocolate gently.
- Divide the batter between the prepared pans and bake for about 25-30 minutes or until a toothpick comes out clean.
- Let cakes cool completely before assembling with raspberry filling and whipped cream topping.
Nutrition
- Serving Size: 1 slice (100g)
- Calories: 410
- Sugar: 32g
- Sodium: 150mg
- Fat: 28g
- Saturated Fat: 17g
- Unsaturated Fat: 10g
- Trans Fat: 0g
- Carbohydrates: 38g
- Fiber: 1g
- Protein: 5g
- Cholesterol: 80mg