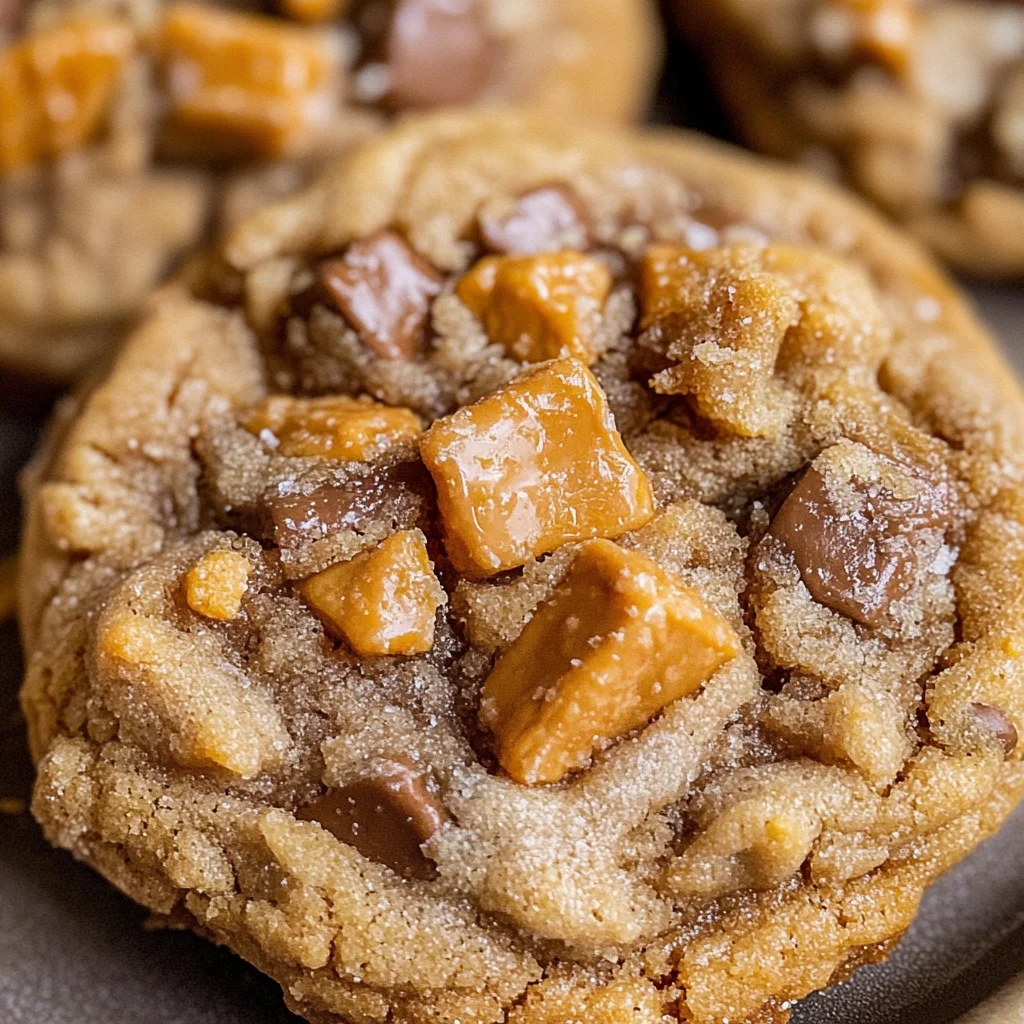
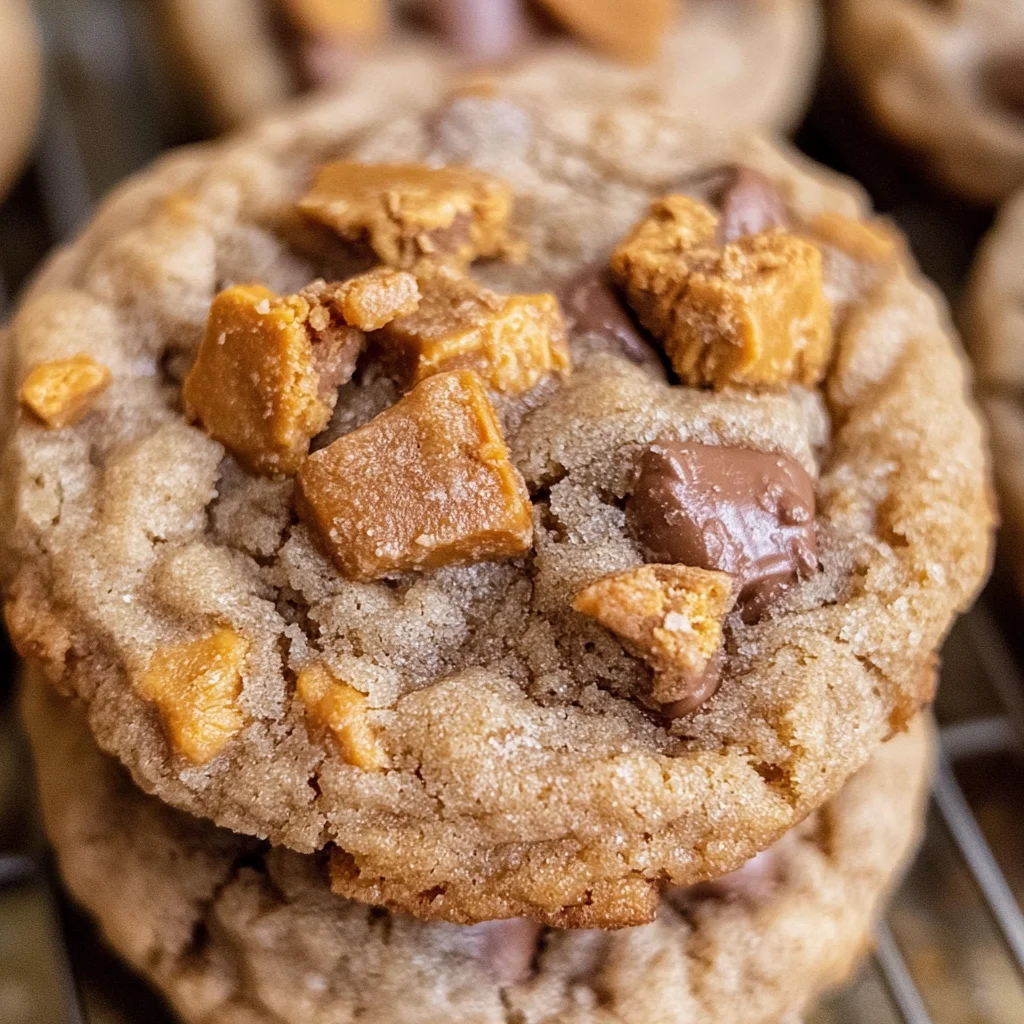
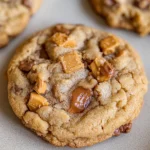
Peanut Butter Butterfinger Cookies
If you’re looking for a cookie that will make your taste buds dance, then you’ve come to the right place! These Peanut Butter Butterfinger Cookies are an absolute game changer. Imagine biting into a soft, thick peanut butter cookie only to discover delightful crispy bits of Butterfinger candy hidden inside! They’re perfect for busy weeknights when you need a quick treat or family gatherings that call for something special. Trust me, these cookies will have everyone coming back for seconds!
I can’t tell you how many times I’ve made these cookies. They are my go-to recipe whenever I want to impress friends or simply indulge in some sweet comfort food. Their unique twist on classic peanut butter cookies makes them not just delicious but unforgettable!
Why You’ll Love This Recipe
- Irresistible Flavor: The combination of creamy peanut butter and crunchy Butterfinger bits creates a flavor explosion in every bite.
- Quick and Easy: With just a few simple steps, you can whip up a batch of these cookies in no time!
- Family-Friendly: Kids and adults alike will adore these treats—perfect for cookie lovers of all ages!
- Make-Ahead Convenience: The dough can be prepared in advance and stored, so you can have fresh cookies ready whenever the craving strikes.
Ingredients You’ll Need
These Peanut Butter Butterfinger Cookies use simple, wholesome ingredients that you probably already have in your pantry. Gather these items and get ready for some baking magic!
Ingredients:
– 3/4 cup butter (softened (1 and 1/2 sticks))
– 1/2 cup granulated sugar
– 1/2 cup brown sugar (packed)
– 1 cup peanut butter (don’t use natural pb)
– 1 large egg
– 1 and 1/2 teaspoons vanilla
– 1 and 1/2 cups all-purpose flour (spooned and leveled)
– 1/2 teaspoon baking soda
– 1/2 teaspoon baking powder
– 1/4 teaspoon kosher salt
– 16 ounces Butterfinger (chopped, see note)*
Variations
What I love about this recipe is its flexibility! You can easily adapt it to suit your taste or what you have on hand. Here are some fun variations to consider:
- Add chocolate chips: For extra sweetness, toss in some semi-sweet chocolate chips alongside the Butterfinger bits.
- Try different candies: Substitute the Butterfinger with other favorite candies like Snickers or Reese’s Pieces for a new twist.
- Make it chunky: Instead of chopping the Butterfinger finely, leave larger chunks for more crunchiness in every bite.
- Go nutty: Add chopped nuts like walnuts or pecans to the dough for added texture and flavor.
How to Make Peanut Butter Butterfinger Cookies
Step 1: Cream the Butters
In a large bowl or stand mixer, beat 3/4 cup softened butter until it is smooth and creamy. Scraping the sides of the bowl ensures every bit is mixed well. This step is key because it creates a light texture that your cookies will benefit from!
Step 2: Sweeten It Up
Add 1/2 cup granulated sugar and 1/2 cup packed brown sugar. Beat well for about 2 minutes until fluffy. This process helps incorporate air into the mixture, leading to those perfectly puffy cookies we all love.
Step 3: Mix in Peanut Butter
Now it’s time for the star ingredient! Add 1 cup peanut butter. I recommend using Jif because it blends beautifully into the batter. Mixing this in thoroughly gives your cookies that rich peanut flavor.
Step 4: Add Egg and Vanilla
Next, mix in 1 large egg and 1 and 1/2 teaspoons vanilla. Beat until everything is combined. The egg adds moisture while also binding the ingredients together—essential for achieving that chewy texture.
Step 5: Combine Dry Ingredients
Add in 1 and 1/2 cups all-purpose flour, ensuring you spoon it into your measuring cup before leveling off. On top of the flour, sprinkle in 1/2 teaspoon baking soda, 1/2 teaspoon baking powder, and 1/4 teaspoon kosher salt. Stir lightly with a teaspoon to combine before turning on your mixer.
Step 6: Bring It All Together
Turn on your mixer to combine everything until just barely mixed—some flour should still be visible. Overmixing can lead to tough cookies, so keep an eye on it!
Step 7: Fold in Butterfingers
Add in your chopped 16 ounces of Butterfinger. Gently mix until barely incorporated; we want those little crunchy pieces throughout!
Step 8: Chill Out!
Cover your bowl with dough and chill it in the fridge for at least 15 minutes (or even up to 24 hours!). Chilling helps solidify the fat which means puffier cookies when baked.
Step 9: Preheat Your Oven
Preheat your oven to 350 degrees F. Line two baking sheets with parchment paper or silicone mats—this prevents sticking!
Step 10: Shape Your Cookies
Shape the chilled dough into balls about 2 inches wide. I love using a cookie scoop for this step—it makes everything easier and ensures uniform sizes.
Step 11: Bake Time
Place them on your lined baking sheets at least an inch apart. Bake at 350 degrees F for about 10 minutes.
Step 12: Check Doneness
The edges should be set while the middle remains slightly shiny—that means they’re perfectly puffy! If they haven’t spread much, gently press down with a spatula after removing from the oven.
Step 13: Cooling Off
Let them sit on the pan for at least 5 minutes before transferring them to a wire rack to cool completely.
Step 14: Enjoy!
Though I usually prefer warm cookies, I recommend letting these cool down to room temperature for optimal texture before diving in!
This recipe makes about 25 delicious Peanut Butter Butterfinger Cookies—perfect for sharing…or not! Store any leftovers tightly sealed at room temperature for up to three days—or freeze dough balls or baked cookies if you want them later! Happy baking!
Pro Tips for Making Peanut Butter Butterfinger Cookies
Baking can be a joyful experience, and these tips will help you achieve the ultimate cookie perfection!
-
Use room temperature ingredients: Ingredients such as butter and eggs blend better at room temperature, leading to a smoother dough and fluffier cookies.
-
Don’t overmix the dough: Mixing just until combined prevents tough cookies. Remember, a little flour peeking through is okay!
-
Chill the dough: Allowing the dough to chill not only enhances the flavors but also helps control spreading during baking, giving you thick, chewy cookies.
-
Experiment with Butterfinger bits: If you can’t find Butterfinger Bits, chop regular Butterfingers into small pieces. Just make sure they’re roughly uniform in size for even distribution.
-
Let them cool: As mentioned, these cookies are best enjoyed after cooling to room temperature. This allows the flavors to settle and the texture to firm up.
How to Serve Peanut Butter Butterfinger Cookies
These delicious cookies are perfect for any occasion! Whether you’re hosting a gathering or simply treating yourself, here are some fun ways to present your Peanut Butter Butterfinger Cookies.
Garnishes
- Sprinkle of sea salt: A light sprinkle adds a delightful contrast to the sweetness and enhances that peanut butter flavor.
- Chocolate drizzle: Melt some dairy-free chocolate chips and drizzle over the cooled cookies for an extra touch of decadence.
Side Dishes
- Milk alternative: Pair your cookies with almond milk or oat milk for a creamy complement that balances the richness of the cookies.
- Coffee or tea: A warm cup of coffee or herbal tea brings out the flavors in these peanut buttery treats and makes for a cozy pairing.
- Fruit platter: Fresh fruits like strawberries or apple slices provide a refreshing contrast to the rich cookies and add a pop of color to your dessert table.
- Ice cream: Serve alongside vanilla or dairy-free ice cream for an indulgent dessert experience that everyone will love!
By following these serving suggestions, your Peanut Butter Butterfinger Cookies will shine at any event! Enjoy every bite!
Make Ahead and Storage
These Peanut Butter Butterfinger Cookies are perfect for meal prep! You can easily make a batch in advance, ensuring you have delicious treats on hand whenever a craving strikes.
Storing Leftovers
- Store any leftover cookies in a tightly sealed container at room temperature for up to 3 days.
- If you want to keep them fresh longer, consider refrigerating them, but bring them back to room temperature before enjoying.
Freezing
- Freeze cookie dough balls by placing them in a ziplock bag. They can be stored for up to 3 months.
- For baked cookies, seal in an airtight container and freeze for up to 4 weeks.
Reheating
- To reheat frozen cookie dough, bake directly from the freezer, adding an extra minute or two to the baking time.
- For baked cookies, let them thaw at room temperature and enjoy as is. You can warm them briefly in the microwave if desired.
FAQs
Have questions about making Peanut Butter Butterfinger Cookies? Here are some answers!
Can I use natural peanut butter for these cookies?
Using natural peanut butter isn’t recommended as it can alter the texture of the cookies. Stick to regular peanut butter like Jif for the best results.
How do I store my Peanut Butter Butterfinger Cookies?
Store your cookies in a tightly sealed container at room temperature for up to 3 days. For longer storage, freeze them for up to 4 weeks!
Can I make these cookies without eggs?
Yes! You can substitute one egg with a flax egg (1 tablespoon ground flaxseed mixed with 2.5 tablespoons water) or applesauce (1/4 cup) for a suitable egg alternative.
What should I do if my cookie dough is too sticky?
If your dough feels overly sticky, chill it for about 15-30 minutes before shaping into balls. This helps firm it up and makes it easier to handle.
Final Thoughts
I truly hope you enjoy making these Peanut Butter Butterfinger Cookies as much as I do! They’re a delightful blend of flavors and textures that will surely impress friends and family alike. Whether you’re treating yourself or sharing with loved ones, these cookies bring smiles all around. Happy baking!
Peanut Butter Butterfinger Cookies
Indulge in the delightful taste of Peanut Butter Butterfinger Cookies, a treat that combines rich peanut butter flavor with crunchy bits of Butterfinger candy. These cookies are soft, thick, and bursting with sweet surprises in every bite! Perfect for family gatherings or a cozy night in, they are easy to make and sure to impress cookie lovers of all ages. Whether you’re enjoying them fresh from the oven or storing them for later, these cookies will quickly become a staple in your baking repertoire.
- Prep Time: 15 minutes
- Cook Time: 10 minutes
- Total Time: 25 minutes
- Yield: Approximately 25 cookies 1x
- Category: Dessert
- Method: Baking
- Cuisine: American
Ingredients
- 3/4 cup softened butter (1 and 1/2 sticks)
- 1/2 cup granulated sugar
- 1/2 cup packed brown sugar
- 1 cup peanut butter (avoid natural)
- 1 large egg
- 1 and 1/2 teaspoons vanilla extract
- 1 and 1/2 cups all-purpose flour
- 1/2 teaspoon baking soda
- 1/2 teaspoon baking powder
- 1/4 teaspoon kosher salt
- 16 ounces chopped Butterfinger candy
Instructions
- Preheat your oven to 350°F and line two baking sheets with parchment paper.
- In a large bowl, beat softened butter until creamy. Add granulated sugar and brown sugar; mix until fluffy.
- Incorporate peanut butter, egg, and vanilla; blend well.
- In another bowl, combine flour, baking soda, baking powder, and salt. Gradually add to the wet ingredients until just combined.
- Fold in chopped Butterfinger pieces gently.
- Chill the dough for at least 15 minutes.
- Scoop dough into balls (about 2 inches wide) and place on prepared baking sheets.
- Bake for approximately 10 minutes or until edges are set but centers remain slightly shiny.
- Allow to cool on the pan for a few minutes before transferring to a wire rack.
Nutrition
- Serving Size: 1 serving
- Calories: 150
- Sugar: 12g
- Sodium: 90mg
- Fat: 8g
- Saturated Fat: 4g
- Unsaturated Fat: 4g
- Trans Fat: 0g
- Carbohydrates: 18g
- Fiber: 0g
- Protein: 3g
- Cholesterol: 20mg