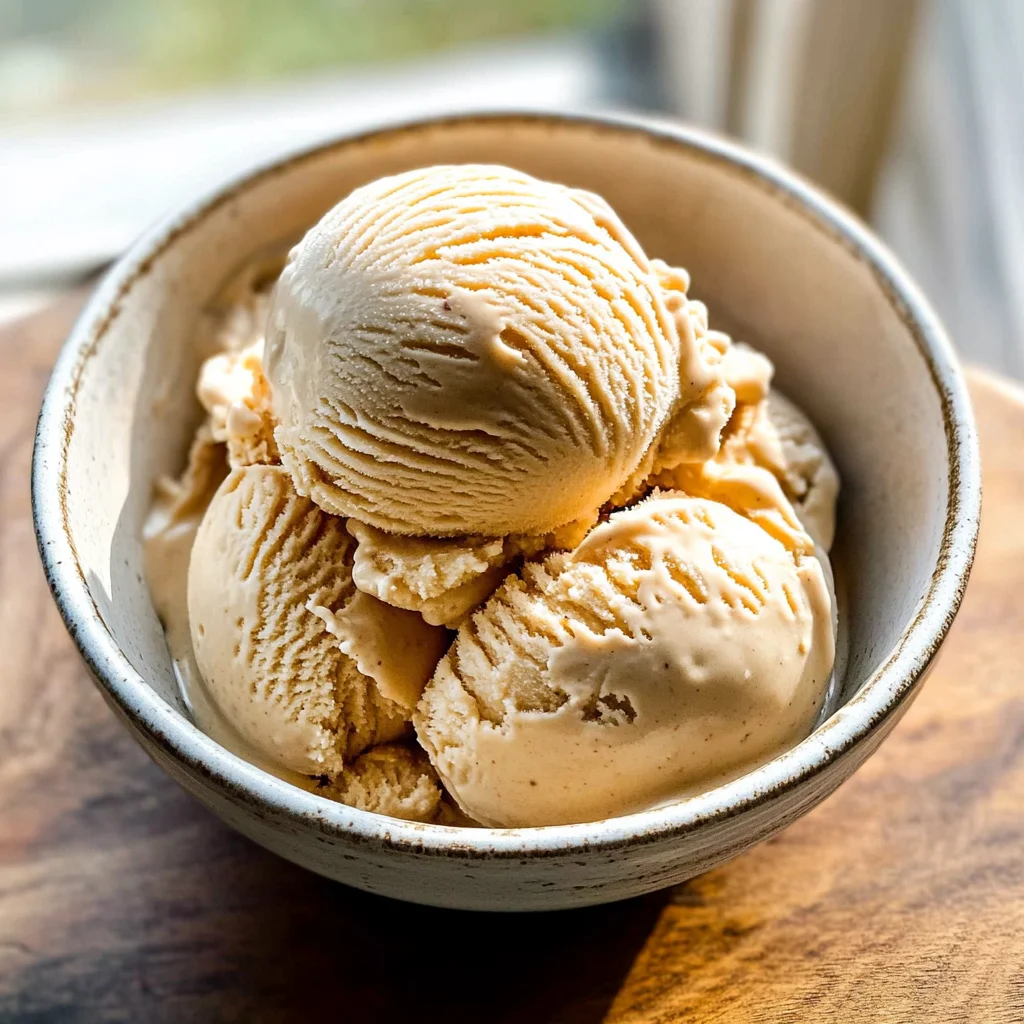
Homemade Maple Ice Cream
If you’re looking for a delightful treat that captures the essence of cozy gatherings and sweet memories, look no further than this Homemade Maple Ice Cream. This recipe holds a special place in my heart because it brings together the comforting flavors of maple syrup and creamy goodness. Whether you’re enjoying a quiet evening on the porch or hosting a family get-together, this ice cream is sure to be a hit!
The beauty of Homemade Maple Ice Cream is that it’s incredibly easy to make, yet it tastes like you’ve spent hours in the kitchen. With its smooth texture and subtle sweetness, it pairs wonderfully with desserts like apple crisp or can simply be enjoyed on its own. Trust me, once you try this recipe, it will become your go-to dessert!
Why You’ll Love This Recipe
- Quick and Easy: This recipe comes together in just 30 minutes of active time, making it perfect for busy weeknights.
- Family-Friendly: Everyone loves ice cream! Kids and adults alike will appreciate this sweet treat.
- Make Ahead: You can prepare the custard ahead of time and freeze it whenever you’re ready for a delicious dessert.
- Versatile Flavor: The gentle maple flavor enhances so many dishes, from pies to cakes or even on its own.
Ingredients You’ll Need
Making Homemade Maple Ice Cream is simple and involves wholesome ingredients that you might already have in your kitchen. Here’s what you’ll need to create this creamy delight:
For the Ice Cream Base
- 6 egg yolks
- 3/4 cup maple syrup (Grade B)
- 1 tsp arrowroot (or tapioca starch, or cornstarch)
- 1/4 tsp sea salt
- 1 1/2 cups half and half
- 1 1/2 cups heavy cream
- 1 tsp vanilla extract
With these ingredients, you’ll create a creamy ice cream that’s rich in flavor and oh-so-satisfying!
Variations
One of the best things about this recipe is its flexibility! Feel free to get creative and make it your own with these fun variations:
- Add Mix-ins: Toss in some chopped nuts or chocolate chips for added texture and flavor.
- Try Different Sweeteners: Experiment with different grades of maple syrup or even honey for a unique twist.
- Infuse Flavors: Add a pinch of cinnamon or nutmeg for a warm spice that complements the maple beautifully.
- Make It Dairy-Free: Substitute coconut cream for heavy cream and use almond milk instead of half-and-half for a dairy-free version.
How to Make Homemade Maple Ice Cream
Step 1: Whisk Together Ingredients
Start by whisking together the egg yolks, maple syrup, arrowroot, and sea salt. This step is crucial as it creates a rich custard base that will give your ice cream its creamy texture. Make sure everything is well combined for smooth results!
Step 2: Heat the Custard Mixture
Next, whisk in the half and half. Place the mixture over medium-high heat while constantly whisking. Keep an eye on it! You want the mixture to thicken slightly but avoid boiling. This process helps develop delicious flavors without curdling the eggs.
Step 3: Combine Cream and Vanilla
Once your mixture has thickened, promptly remove it from heat. Stir in the heavy cream and vanilla extract. This addition makes your ice cream even richer and more flavorful. Don’t skip this step; it’s where all that silky smoothness comes from!
Step 4: Strain and Chill
Pour the mixture through a strainer into another bowl to catch any bits. Chill it in the refrigerator for at least 4 hours. Chilling allows the flavors to meld beautifully and ensures your ice cream has an incredible consistency.
Step 5: Freeze Your Ice Cream
When you’re ready to enjoy your treat, freeze according to your ice cream machine’s instructions. Your homemade maple ice cream will be ready when it stands up on a spoon—trust me; you’ll know when it’s just right!
Step 6: Final Freezing
Finally, transfer your freshly churned ice cream into an airtight container and place it in the freezer for an additional 4-6 hours. This step ensures every scoop is perfectly firm yet creamy.
Enjoy every spoonful of your Homemade Maple Ice Cream! It’s perfect for any occasion or simply as a sweet indulgence after dinner.
Pro Tips for Making Homemade Maple Ice Cream
Making ice cream at home can feel daunting, but with a few helpful tips, you’ll be churning out your own delicious creations in no time!
-
Use Grade B Maple Syrup: This syrup has a richer and bolder flavor than Grade A, which enhances the maple taste in your ice cream, giving it that authentic sweetness.
-
Don’t Rush the Chilling Process: Allowing your custard to chill for at least 4 hours (or overnight) helps develop a smoother texture. The colder the mixture is when it goes into the ice cream maker, the creamier your final product will be.
-
Whisk Constantly While Cooking: Keeping the mixture moving prevents it from sticking to the bottom of the pan and ensures even cooking. This step is crucial for achieving that silky smooth consistency.
-
Strain Your Mixture: Pouring your custard through a strainer before freezing removes any small bits of cooked egg or thickened mixture, resulting in an ultra-smooth ice cream experience.
-
Allow Time to Firm Up: Once your ice cream is done churning, let it sit in the freezer for a few hours. This extra time allows it to harden perfectly and scoop beautifully!
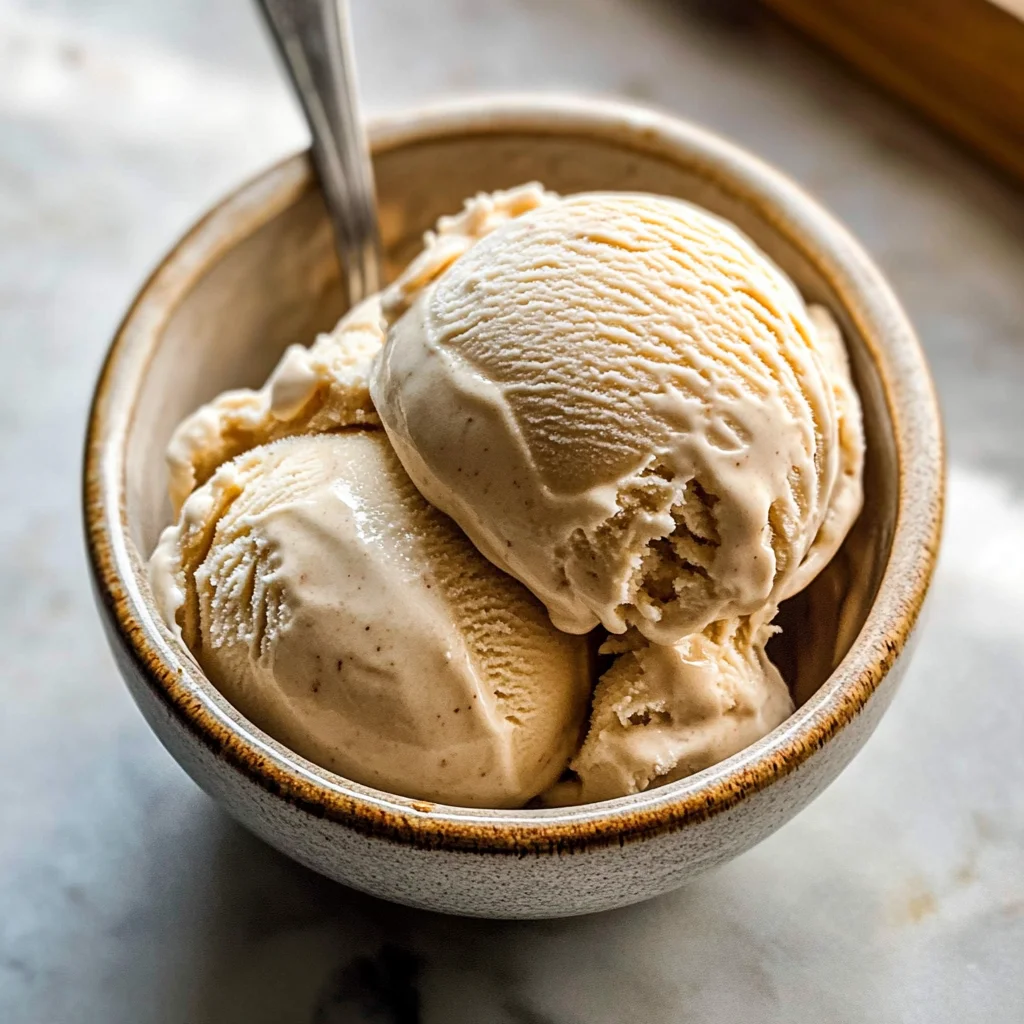
How to Serve Homemade Maple Ice Cream
Serving homemade maple ice cream can be as simple or creative as you desire. Whether you’re enjoying it on its own or pairing it with other treats, there are endless possibilities!
Garnishes
- Chopped Pecans: These add a delightful crunch and complement the maple flavor beautifully.
- Drizzle of Maple Syrup: A little extra sweetness on top makes every scoop feel indulgent.
- Fresh Berries: Strawberries or blueberries provide a bright contrast in flavor and color that lifts this creamy dessert.
Side Dishes
- Apple Crisp: The warm, spiced apples paired with cold maple ice cream create a comforting dessert experience that’s hard to resist.
- Chocolate Chip Cookies: Soft and chewy cookies make for a classic combination when served alongside or crumbled atop ice cream.
- Grilled Peaches: Their natural sweetness intensifies when grilled, making them a perfect companion for the cool, creamy texture of maple ice cream.
- Pancakes: Stack up some fluffy pancakes and top them with scoops of maple ice cream for a fun breakfast-for-dessert treat!
With these serving ideas and pro tips, your homemade maple ice cream will surely impress family and friends alike! Enjoy every silky spoonful!
Make Ahead and Storage
This Homemade Maple Ice Cream is perfect for meal prep, allowing you to enjoy your creamy treat anytime. You can make it in advance and store it for later, ensuring you always have a delightful dessert on hand.
Storing Leftovers
- Store any leftover ice cream in an airtight container.
- To maintain the best texture, press plastic wrap directly onto the surface of the ice cream before sealing the container.
- Consume within two weeks for optimal freshness.
Freezing
- If you plan to freeze the ice cream after churning, transfer it to a freezer-safe container quickly.
- Allow it to freeze for at least 4-6 hours to achieve a firm consistency.
- Consider labeling your container with the date for easy tracking.
Reheating
- Homemade Maple Ice Cream doesn’t require reheating, but if it becomes too hard, let it sit at room temperature for 5-10 minutes before scooping.
- Use a warm scoop or spoon to help serve easily.
FAQs
Here are some commonly asked questions about making Homemade Maple Ice Cream.
Can I use different types of syrup for this Homemade Maple Ice Cream?
While maple syrup provides the signature flavor, you can experiment with other syrups like agave or honey. However, keep in mind that this will alter the taste and sweetness of your ice cream.
How long does Homemade Maple Ice Cream last in the freezer?
Homemade Maple Ice Cream can last up to two weeks in the freezer when stored properly. For best results, consume it within that time frame to enjoy its creamy texture fully.
What can I serve with Homemade Maple Ice Cream?
This ice cream pairs wonderfully with desserts like apple crisp, brownies, or even just fresh fruit. You can also enjoy it on its own!
Can I make this recipe dairy-free?
Yes! To make a dairy-free version of Homemade Maple Ice Cream, substitute half and half and heavy cream with coconut milk or another plant-based alternative. Adjust sweetness as needed.
Final Thoughts
I hope you find joy in making this lovely Homemade Maple Ice Cream! Its creamy texture and delightful maple flavor truly elevate any dessert experience. Whether you’re enjoying it solo or sharing with friends and family, this recipe is bound to bring smiles all around. So grab your ingredients and start creating—happy scooping!
Homemade Maple Ice Cream
Indulge in the creamy goodness of Homemade Maple Ice Cream, a delightful treat that captures the warmth of cherished gatherings and sweet memories. This recipe combines the rich flavors of Grade B maple syrup with a smooth custard base, creating an irresistible dessert perfect for any occasion.
- Prep Time: 20 minutes
- Cook Time: 10 minutes
- Total Time: 30 minutes
- Yield: Approximately 6 servings 1x
- Category: Dessert
- Method: Freezing
- Cuisine: American
Ingredients
- 6 egg yolks
- 3/4 cup Grade B maple syrup
- 1 tsp arrowroot (or tapioca starch)
- 1/4 tsp sea salt
- 1 1/2 cups half-and-half
- 1 1/2 cups heavy cream
- 1 tsp vanilla extract
Instructions
- Whisk egg yolks, maple syrup, arrowroot, and sea salt together until smooth.
- Stir in half-and-half and heat over medium-high, whisking constantly until slightly thickened (do not boil).
- Remove from heat and mix in heavy cream and vanilla extract.
- Strain mixture to remove any bits and chill for at least 4 hours.
- Freeze according to your ice cream machine's instructions; transfer to an airtight container for final freezing (4-6 hours).
Nutrition
- Serving Size: 1/2 cup (120g)
- Calories: 360
- Sugar: 30g
- Sodium: 50mg
- Fat: 28g
- Saturated Fat: 17g
- Unsaturated Fat: 9g
- Trans Fat: 0g
- Carbohydrates: 30g
- Fiber: 0g
- Protein: 4g
- Cholesterol: 210mg